Why Your AC’s Performance Depends on Clean Condenser Coils
Condenser coil cleaning is key to keeping your air conditioner running efficiently and your energy bills low. When outdoor coils get clogged with dirt, debris, and Louisiana’s infamous pollen, your AC works much harder to cool your home.
Quick Answer for Condenser Coil Cleaning:
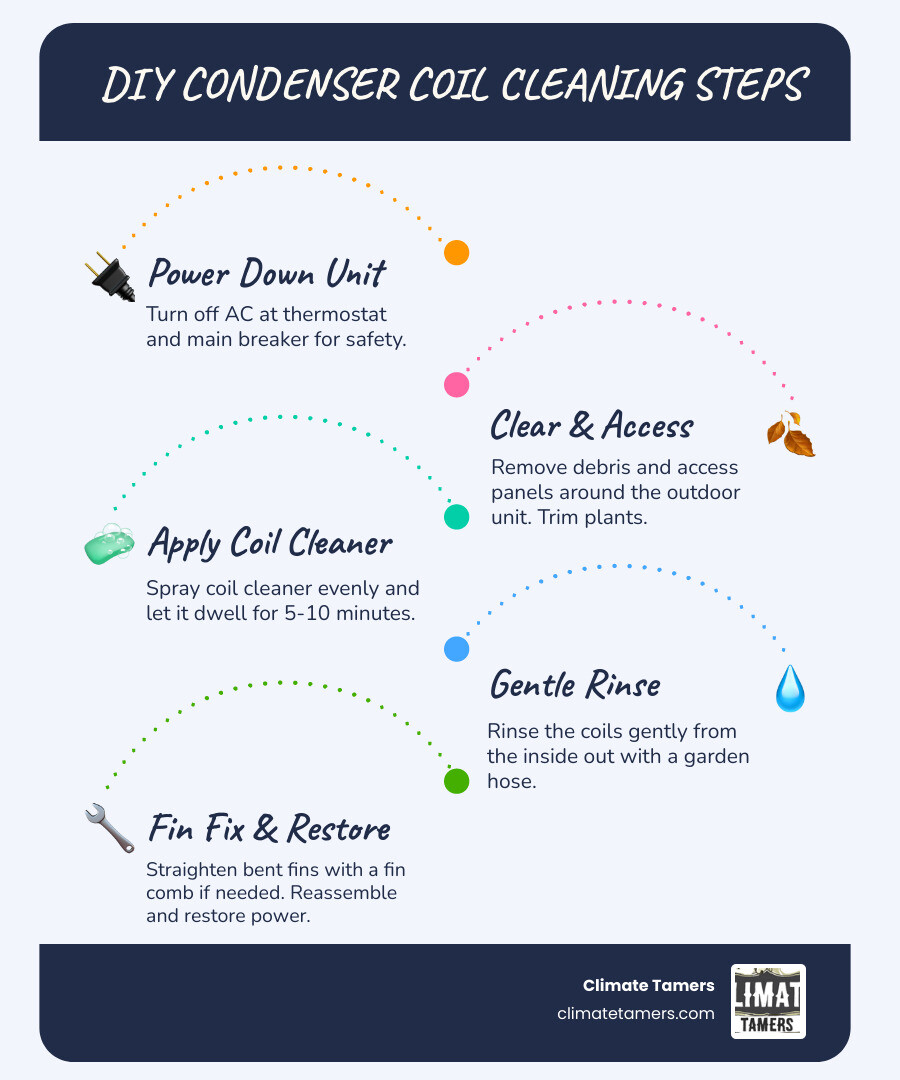
- Turn off power at the thermostat and breaker.
- Remove debris and access panels around the outdoor unit.
- Apply coil cleaner and let it dwell for 5-10 minutes.
- Rinse gently from inside out with a garden hose.
- Straighten bent fins with a fin comb if needed.
- Reassemble and restore power.
Dirty condenser coils can’t release heat effectively, which can increase energy consumption by 37% and reduce your AC’s efficiency by up to 30%. These coils are responsible for releasing the heat your AC pulls from inside your house. When they’re coated with dirt and grass clippings, it’s like trying to breathe through a dirty mask—everything becomes much harder.
Regular cleaning prevents your compressor from working overtime, helps avoid costly repairs, and keeps your electric bills from skyrocketing during those brutal New Orleans summers.
The Unsung Hero of Your AC: Understanding Condenser Coils
Your air conditioner moves heat from inside your home to the outdoors, and the condenser coils are where the magic happens. Located in your outdoor AC unit, these coils are long copper tubes wrapped with thin aluminum fins, similar to a car’s radiator.
Here’s how it works: Refrigerant carrying heat from your indoor air flows through the copper tubes. A fan blows outdoor air across the aluminum fins, allowing the hot refrigerant to release its heat and change from a gas back into a liquid. The fins increase the surface area, making this heat transfer process highly efficient.
When these coils get clogged with Louisiana’s pollen, dirt, and debris, heat can’t escape. This forces your AC to struggle and leaves your home uncomfortably warm.
| Feature | Condenser Coils | Evaporator Coils |
|---|---|---|
| Location | Outdoor unit | Indoor unit (furnace or air handler) |
| Function | Releases heat from refrigerant to outdoor air | Absorbs heat and moisture from indoor air |
| Refrigerant State | Gas to liquid (releases heat) | Liquid to gas (absorbs heat) |
| Typical Contaminants | Outdoor debris (dirt, leaves, pollen, pet hair) | Indoor debris (dust, dander, mold, lint) |
| Cleaning Impact | Improves heat rejection, lowers energy bills | Improves heat absorption, dehumidification, airflow |
Signs Your Coils Need a Scrub
Your AC will show signs when its condenser coils need attention.
- Reduced cooling performance: The first red flag is often when your home doesn’t cool down like it used to, or the air from the vents feels lukewarm. This means clogged coils are struggling to release heat.
- Higher energy bills: When coils are dirty, your AC works overtime, which can increase energy consumption by up to 37%.
- AC runs constantly: A clean system reaches its target temperature and rests. Dirty coils force the system to run non-stop or cycle on and off frequently as it overheats.
- Visible dirt and debris: If you can see a layer of dirt, leaves, or grass clippings on your outdoor unit, it’s time for a cleaning.
For more troubleshooting tips, check out our guide on Common Air Conditioner Problems and How to Fix Them.
The Benefits of Regular Condenser Coil Cleaning
Condenser coil cleaning is a smart investment in your comfort and your wallet.
- Improved energy efficiency: Clean coils allow heat to escape freely, so your AC doesn’t have to strain. This can restore up to 30% of lost efficiency.
- Lower utility costs: Better efficiency means lower electric bills, especially during hot Louisiana summers.
- Increased cooling capacity and extended AC lifespan: When your system works less, there’s less wear and tear on components like the compressor. Regular cleaning can significantly extend your unit’s life.
- Fewer unexpected breakdowns: Proactive maintenance prevents small issues from becoming major, expensive repairs on the hottest day of the year.
To learn more about keeping your system in peak condition, explore our comprehensive guide on the Importance of Regular AC Maintenance.
Gearing Up: Tools and Materials for the Job
Before starting your condenser coil cleaning, gathering the right tools and materials will ensure the job goes smoothly.
Essential Tools for Condenser Coil Cleaning
Most tools needed for condenser coil cleaning are common household items.
- Screwdriver or drill: To remove the access panels on your outdoor unit.
- Soft bristle brush: To gently remove loose debris without damaging the delicate aluminum fins.
- Garden hose with a spray nozzle: Use a gentle spray setting for rinsing. Do not use a pressure washer.
- Shop vacuum with a brush attachment: For vacuuming loose dirt, leaves, and pollen from around and inside the unit.
- Work gloves and safety glasses: To protect you from dirt and cleaning chemicals.
- Fin comb: A specialized tool to straighten bent aluminum fins that can restrict airflow.
Choosing the Right Coil Cleaner
Select a cleaner that is tough on grime but gentle on your equipment.
- Commercial coil cleaners: Your best bet is a product designed specifically for HVAC systems. Look for one with a foaming action to help lift dirt from deep within the coil.
- Non-acidic formulas: These gentle cleaners won’t corrode the aluminum fins or copper tubing. Many are no-rinse, but a gentle water rinse is always a good final step.
What to Avoid:
- Harsh chemicals: Stay away from bleach or ammonia, as they can damage coil materials and are unsafe for your yard.
- High-pressure washers: The powerful water jets will bend and flatten the delicate fins, leading to expensive repairs. A garden hose provides all the pressure you need.
Proper preparation is the key to successful condenser coil cleaning. Gathering your tools beforehand will make the process much smoother.
The Ultimate Guide to Condenser Coil Cleaning
With your tools and cleaner ready, you can begin the condenser coil cleaning process. Safety is the top priority.
Step 1: Safety First – Power Down the Unit
To prevent electric shock, you must ensure no power is running to the outdoor AC unit. This step is non-negotiable.
- Turn Off Thermostat: Set your indoor thermostat to “off.”
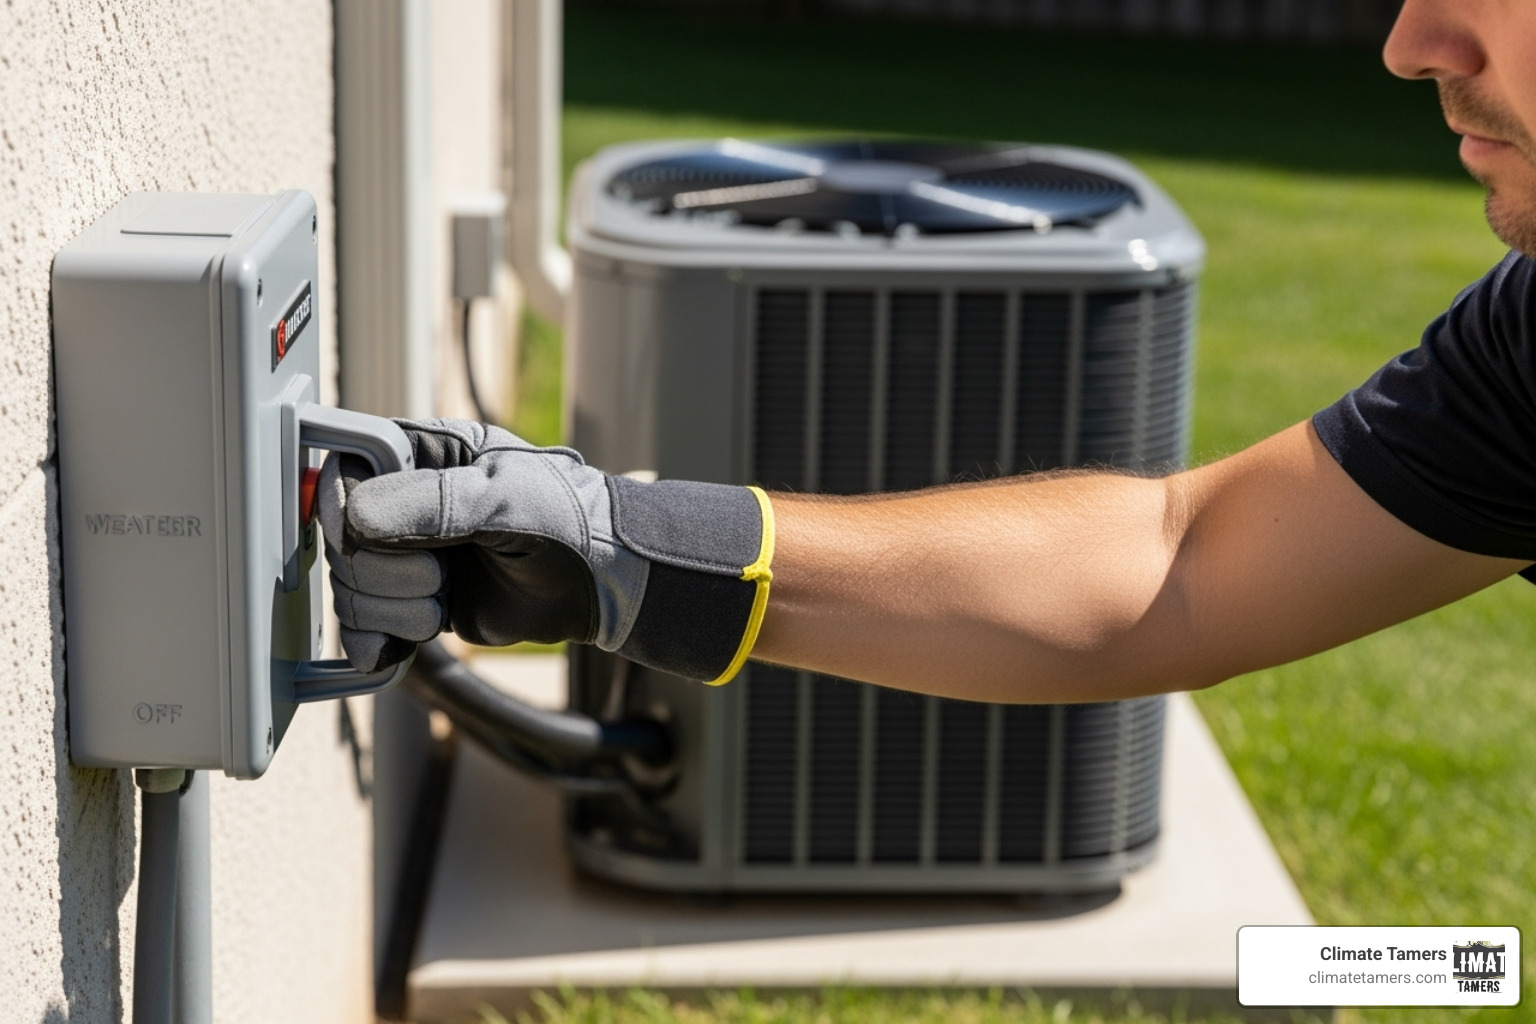
- Shut Off Power at the Breaker: Go to your home’s main electrical panel and find the breaker for your outdoor AC unit (often labeled “AC,” “HVAC,” or “Condenser”). Flip it to the “off” position.
- Use the Outdoor Disconnect: Most outdoor units have an electrical disconnect box on the wall nearby. Open it and either pull out the disconnect block or flip the lever to “off.”
- Verify No Power: To be certain, try to turn the unit on from the thermostat. If nothing happens, you’re safe to proceed.
For more comprehensive maintenance advice, consult an AC Preventative Maintenance Guide.
Step 2: Clear Debris and Access the Coils
With the power off, you can start cleaning.
- Clear Yard Waste: Remove leaves, grass clippings, and other debris from around the unit. Trim back any plants or shrubs at least two feet from all sides to ensure proper airflow.
- Remove Outer Casing: Use a screwdriver or drill to remove the protective metal cage or panels surrounding the coils. Taking photos as you go can help with reassembly. Be careful with any attached fan wiring.
- Clean Out Internal Debris: Remove large clumps of debris by hand, then use a shop vacuum with a brush attachment to clean the inside of the unit, especially the base and between the coils.
Step 3: Apply Cleaner and Rinse
Now for the deep clean.
- Pre-Rinse with Hose: Gently spray the coils with a garden hose to loosen surface dirt. For a visual guide, see this video: HERE.
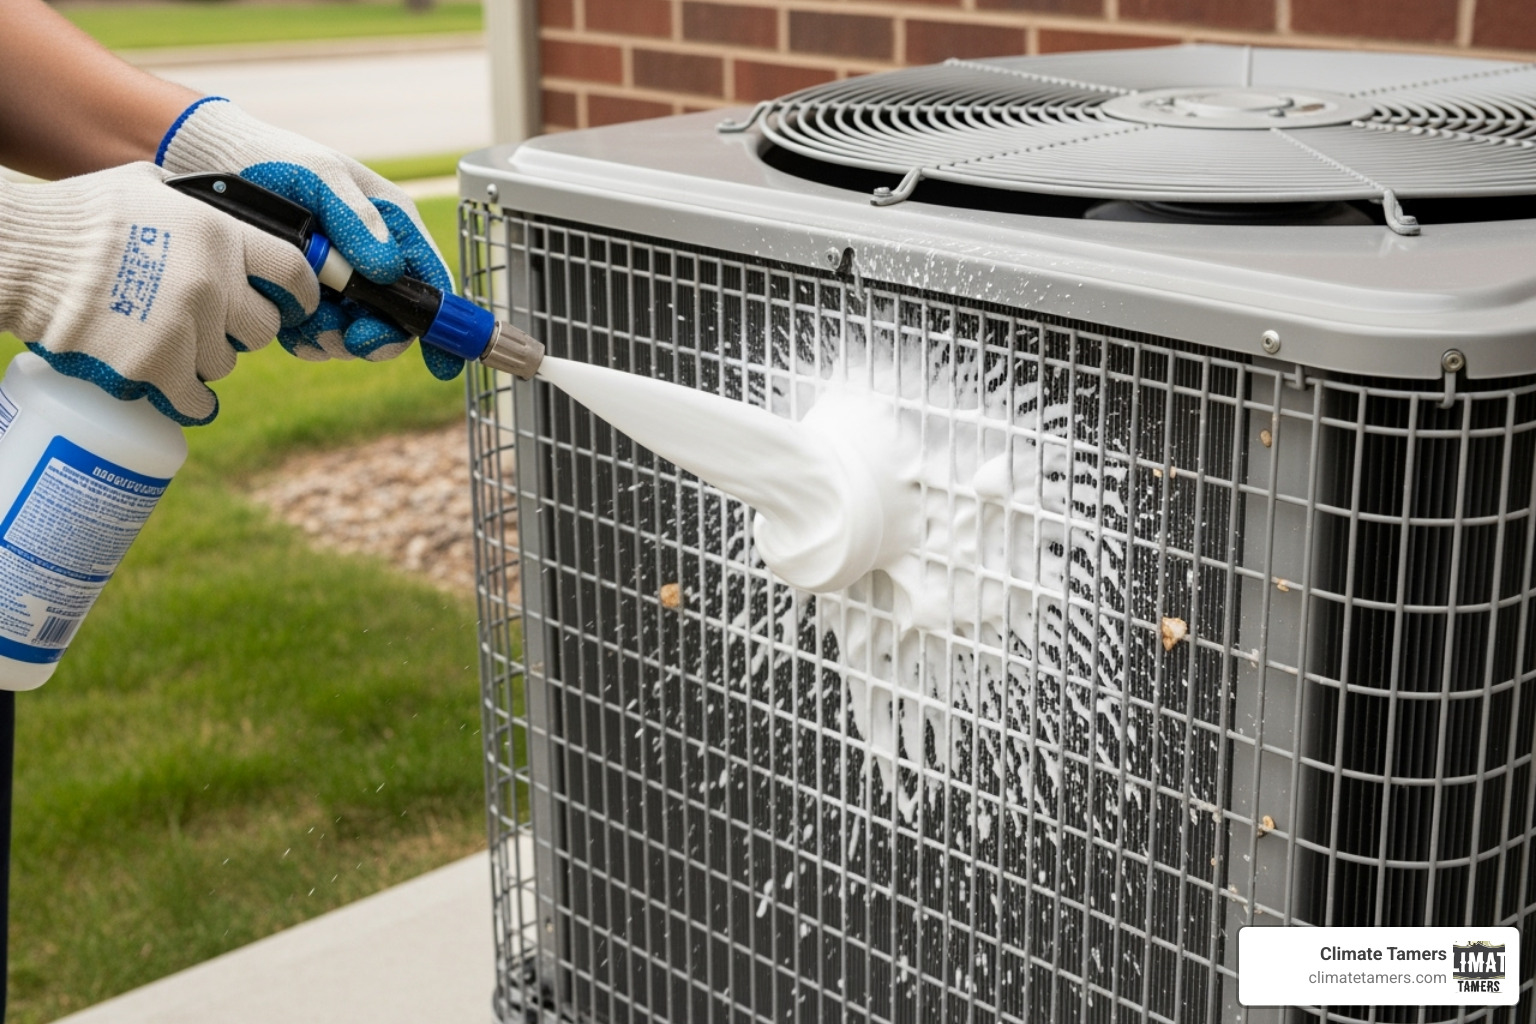
- Apply Cleaner: Following the product instructions, spray your coil cleaner evenly onto the condenser coils from top to bottom.
- Let Cleaner Dwell: Allow the cleaner to sit for the recommended time, usually 5-10 minutes, to break down grime.
- Rinse Gently from the Inside Out: Using a gentle spray, rinse the coils thoroughly by directing the water from the center of the unit outward. This pushes dirt and cleaner out instead of deeper into the fins. Rinse until the water runs clear and be careful not to spray electrical components.
For more detailed instructions, you can refer to guides like How to Clean HVAC Condenser and Evaporator Coils or Condenser Coil Cleaning Step by Step. Another helpful resource is How to Clean AC Condenser Coils: A Step by Step Guide.
Step 4: Straighten Fins and Reassemble
A few final touches will ensure optimal performance.
- Inspect for Bent Fins: Look closely at the delicate aluminum fins, as bent ones can restrict airflow.
- Use a Fin Comb Carefully: If you find bent fins, gently use a fin comb to straighten them. Avoid using too much pressure.
- Reattach Panels: Reattach all panels and guards, ensuring all screws are secure.
- Restore Power: Restore power at the outdoor disconnect and the main breaker panel. Turn your thermostat back to your desired cooling setting.
DIY vs. Professional Cleaning: Making the Right Call
While many homeowners can successfully perform a condenser coil cleaning, it’s important to know when to call a professional. For a look at what professional care involves, see our What’s Included in an AC Tune-Up Checklist?
When to DIY
You can likely handle condenser coil cleaning yourself if:
- You’re performing annual maintenance on coils with light to moderate dirt buildup from typical dust, pollen, and grass clippings.
- You are confident with basic tools and can follow instructions carefully.
- You have adequate time to do the job right without rushing.
When to Call a Pro
It’s time to call Climate Tamers when you encounter:
- Heavily impacted coils: Years of stubborn buildup require specialized equipment and commercial-grade cleaners.
- Significant fin damage: A professional can assess if badly bent fins can be salvaged or if the coil needs replacement.
- Electrical concerns: If you see frayed wires, smell burning, or are uncertain about electrical components, do not take risks.
- Suspected refrigerant leaks: Hissing sounds, ice on coils in summer, or poor cooling despite a clean unit point to a bigger problem that requires an EPA-certified technician.
- Lack of time or tools: We’re here to help when life gets busy or you don’t have the necessary equipment.
Professional service follows industry standards like those from ACR, The NADCA Standard. For more, see our guide on AC Issues That Need Professional Attention.
Common Mistakes to Avoid
Avoid these common errors to prevent turning a simple cleaning into an expensive repair:
- Using a high-pressure washer: This will flatten the delicate aluminum fins and ruin the coil.
- Bending coil fins: Be gentle when cleaning or using a fin comb to avoid causing more damage.
- Spraying water on electrical parts: This can lead to corrosion and component failure, even with the power off.
- Using wrong cleaning chemicals: Harsh acids or household cleaners can corrode your coils. Stick to approved HVAC coil cleaners.
- Forgetting to turn off the power: This is the biggest mistake. It’s a major safety risk and can damage your system.
Frequently Asked Questions about Coil Cleaning
Here are answers to some of the most common questions we get about condenser coil cleaning.
How often should I clean my condenser coils?
As a rule, clean your coils at least once a year, ideally in the spring before the summer heat arrives. This can be part of your Spring HVAC Maintenance Checklist to get your HVAC System Summer Ready.
However, you may need to clean them more often (e.g., every six months) if you have pets, live near a construction site, or deal with a lot of cottonwood fluff. The best practice is to inspect your coils periodically; if they look dirty, it’s time for a cleaning. For more guidance, see How Frequently Should Your AC Unit Be Tuned Up?.
Does cleaning the coils make the AC colder?
Yes, in a way. Cleaning your condenser coils restores your system’s ability to cool effectively. It won’t make the air colder than the thermostat setting, but it will allow your AC to reach and maintain that temperature without struggling.
Clean coils improve heat transfer, so your system can cool your home more quickly and efficiently instead of working overtime to maintain a lukewarm temperature. This restored cooling power makes your home feel much more comfortable. It’s all about Optimizing Your AC System for Peak Performance.
Can I just use water to clean my AC coils?
Water alone can rinse away light, loose dust. However, most condenser coils accumulate stickier grime from pollen, oily residues, and pet dander that water can’t remove.
Commercial coil cleaners are formulated to break down these stubborn contaminants. The foaming action lifts dirt from deep within the coil fins where a simple rinse can’t reach. While water is better than nothing, using a proper coil cleaner will yield the best results for performance and efficiency.
Keep Your Cool with Clean Coils
Condenser coil cleaning is a powerful DIY task that delivers tangible results for your home’s comfort and your wallet. By keeping your coils clean, you’ll benefit from:
- Improved energy efficiency and lower utility costs.
- Increased cooling capacity for better comfort during Louisiana heat waves.
- Extended AC unit lifespan due to less strain on components.
- Fewer unexpected breakdowns and costly repairs.
Proactive maintenance like coil cleaning is far better than dealing with a system failure on the hottest day of the year.
However, not every homeowner has the time, tools, or comfort level for DIY maintenance. At Climate Tamers, we’re here for both the tough jobs that require professional expertise and comprehensive maintenance to keep your system running smoothly.
If your AC still isn’t performing well after a cleaning, or if you find issues beyond your comfort zone, don’t hesitate to give us a call. A dirty coil can sometimes mask a more significant problem. When it’s time for more extensive service or even a new AC installation in New Orleans, we’re ready to help.
Our team is dedicated to exceptional customer service and is committed to being your long-term HVAC partner. Climate Tamers is here to help you keep your cool.


