Why Whole House Humidifier Installation Matters for Your Home Comfort
Whole house humidifier installation is a game-changer for homeowners dealing with dry indoor air, especially during winter months when humidity levels can drop as low as 15% – drier than the Sahara Desert. Modern Americans spend over 90% of their time indoors, making proper humidity control essential for comfort and health.
Key Steps for Whole House Humidifier Installation:
- Choose the right type – bypass, fan-powered, or steam based on home size
- Gather essential tools – tin snips, drill, level, wire strippers, safety gear
- Mount the unit – cut ductwork holes using manufacturer’s template
- Connect water supply – install saddle valve or T-fitting on water line
- Wire the humidistat – connect to furnace control board with proper voltage
- Test operation – check for leaks and proper humidity output
Installing a whole-house humidifier yourself typically takes 2-5 hours and costs only the price of the unit plus materials. Professional installation averages between $395 and $734, but DIY installation can save significant money if you have basic plumbing and electrical skills.
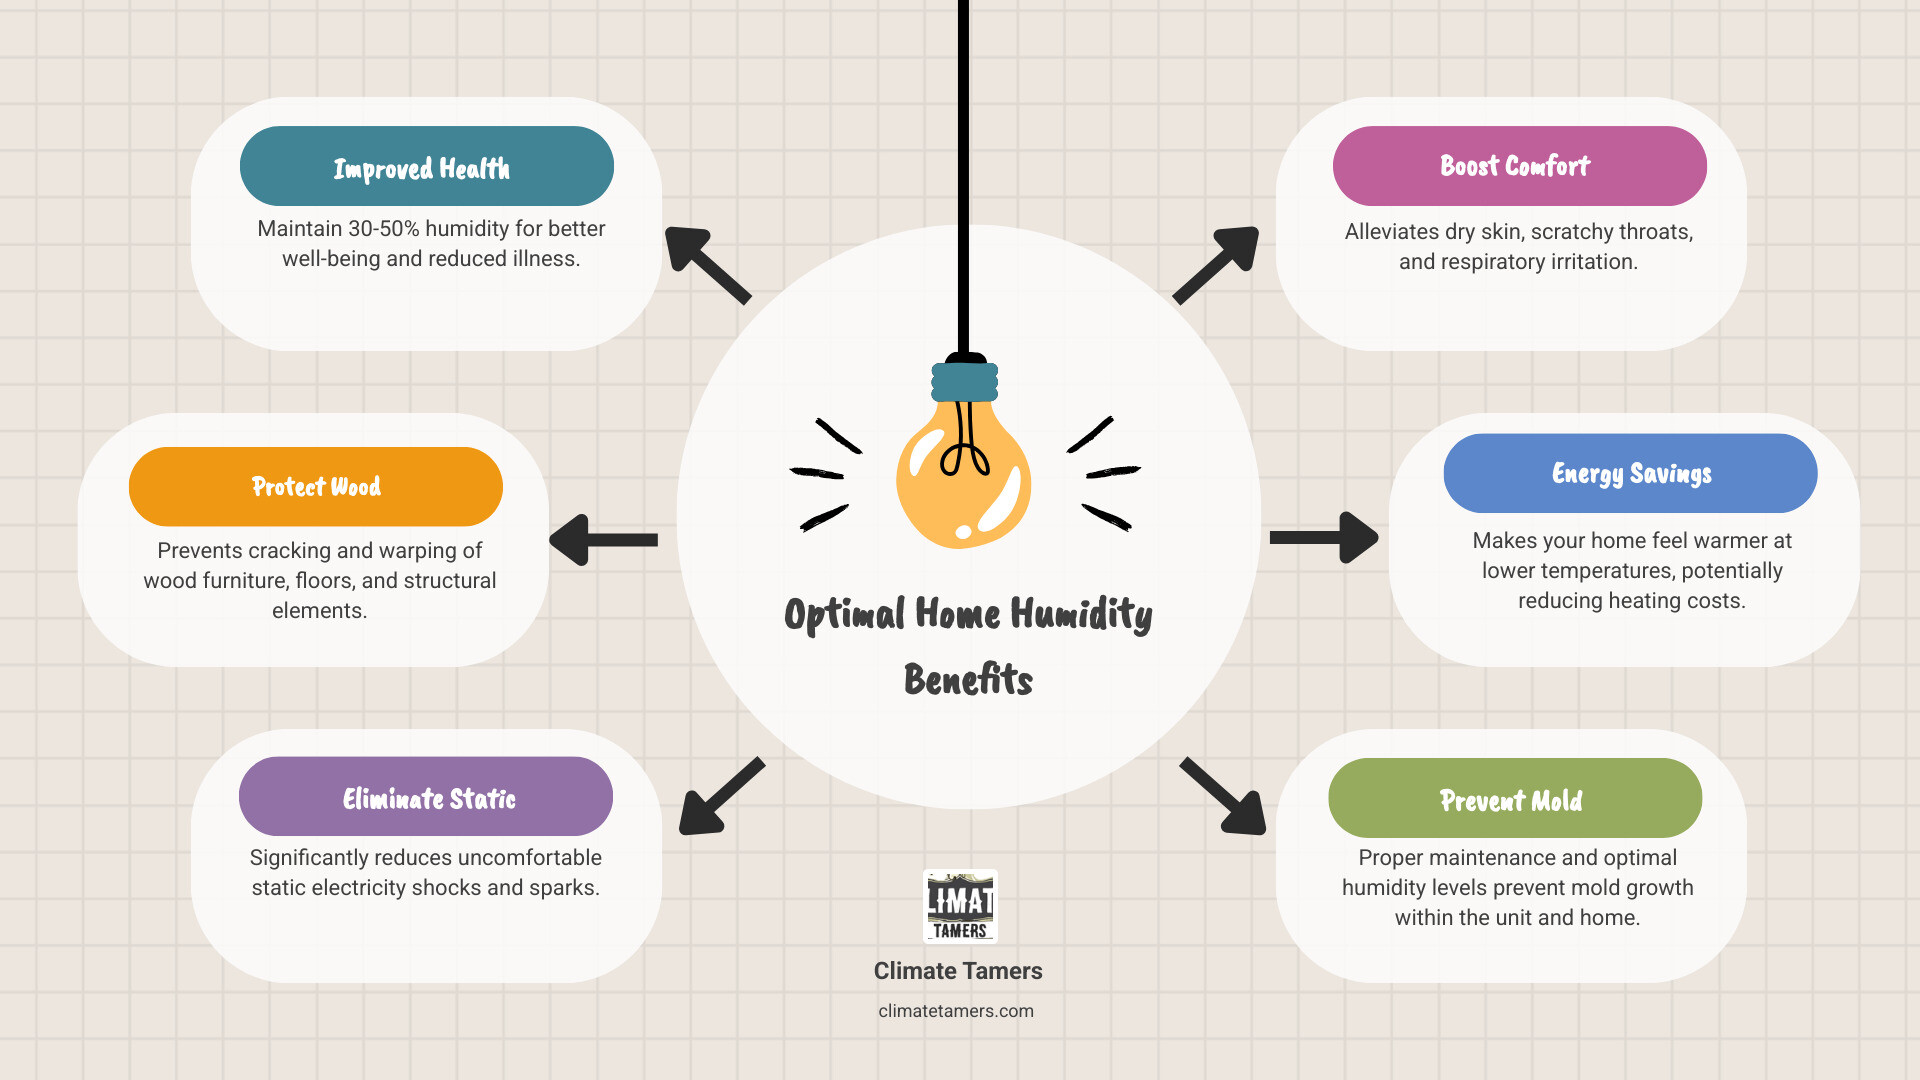
Benefits include:
- Eliminating static electricity and dry skin
- Protecting wood furniture and flooring
- Reducing respiratory irritation
- Making your home feel warmer at lower temperatures
- Potentially saving hundreds on heating costs annually
However, improper installation can lead to water leaks, electrical hazards, or HVAC system damage. This guide will walk you through each step while helping you recognize when it’s smarter to call a professional.
Before You Begin: Prep and Planning
Proper planning is the foundation of a successful whole house humidifier installation. Before you begin, you must choose the right unit for your home and gather all necessary tools and materials.
Choosing the Right Humidifier for Your Home
Choosing the right whole-house humidifier depends on your home’s size, HVAC system, and budget. The three main options are:
Bypass humidifiers are a budget-friendly and reliable option. They use your furnace’s blower to divert heated air through a water pad and circulate the humidified air. They only operate when your heating system is running.
Fan-powered humidifiers include a built-in fan, allowing them to operate independently of the furnace blower. This provides more consistent humidity and is ideal for homes with limited ductwork access.
Steam humidifiers are the premium choice, boiling water to inject pure steam into your ductwork. They offer the fastest and most precise humidity control for larger homes but have higher operating costs due to electricity use.
When choosing your unit, consider your home’s square footage, your HVAC system compatibility, and your budget.
| Humidifier Type | Cost (Unit Only) | Efficiency/Output | Maintenance Needs | Ideal Home Size |
|---|---|---|---|---|
| Bypass | Lower | Good | Moderate | Small to Medium |
| Fan-Powered | Mid-Range | Very Good | Moderate | Medium to Large |
| Steam | Higher | Excellent | Higher (energy) | Large to Very Large |
Essential Tools and Materials for Installation
Gathering all your tools and materials beforehand will ensure a smooth installation process. Your humidifier kit contains the main unit, humidistat, water panel, and template. You’ll also need some basic tools.
Tin snips are essential for cutting sheet metal. You’ll also need a power drill with various bits, screwdrivers, and a level.
For wiring, you’ll need wire strippers and low-voltage wire (18-gauge is common). For the water connection, use quarter-inch copper or plastic tubing.
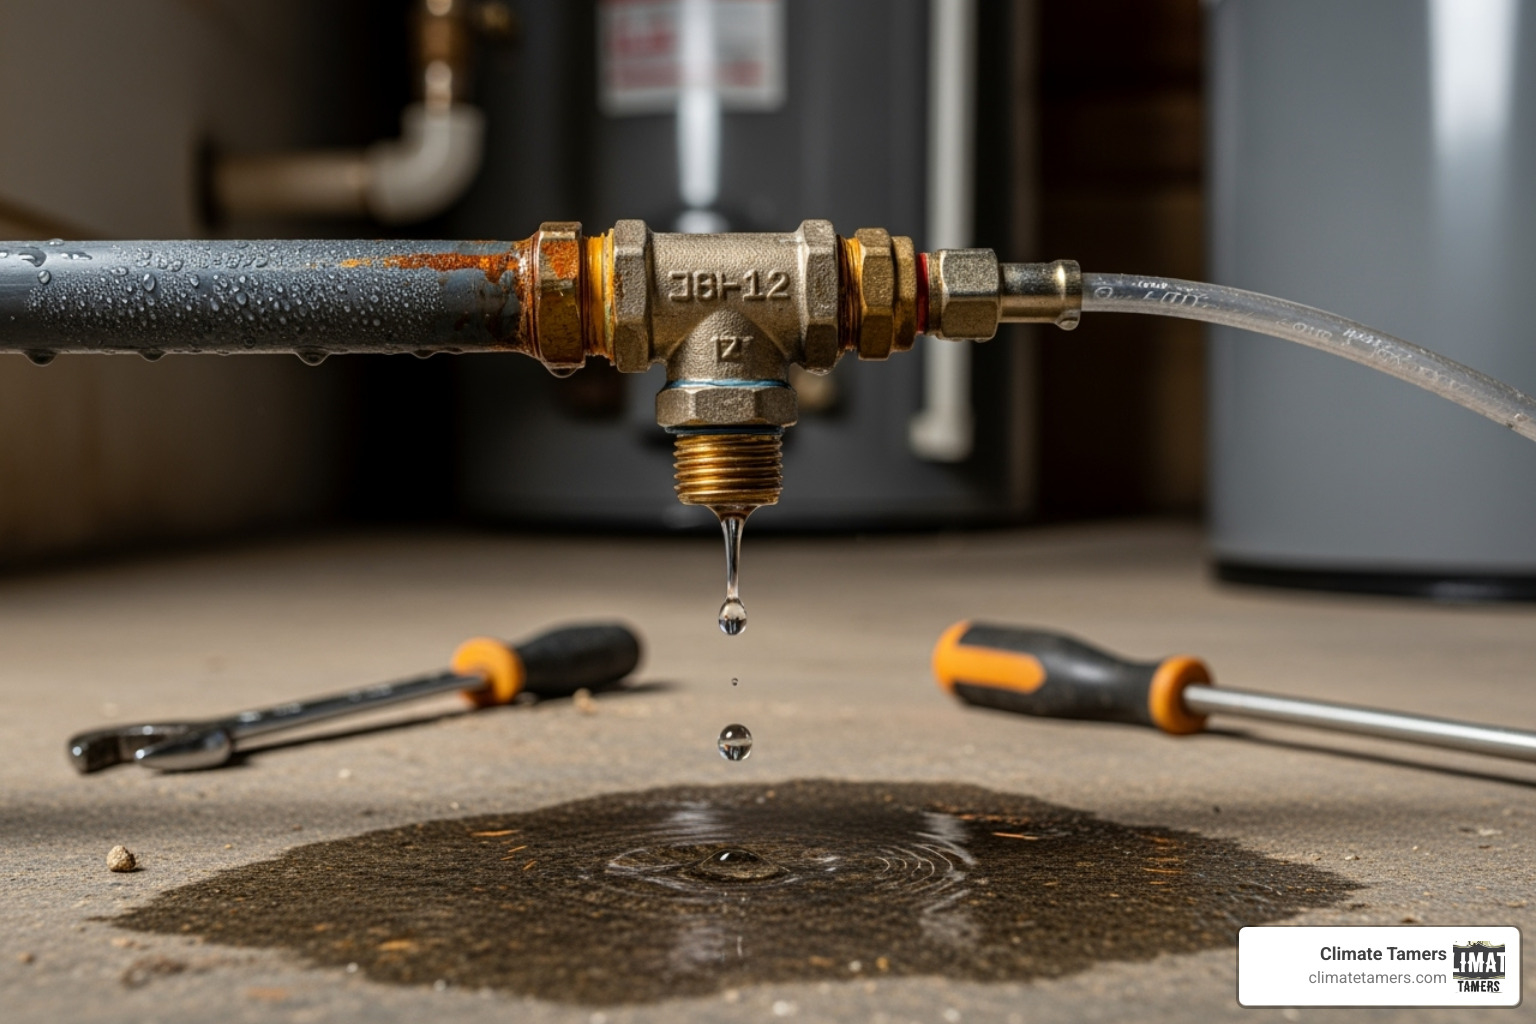
You’ll need either a saddle valve or T-fitting to tap into your water supply. While saddle valves are easier to install, they are prone to leaks. Plumbers and experienced DIYers strongly recommend using a T-fitting. This requires cutting the pipe but creates a far more reliable, leak-proof connection.
Finally, always use safety gear. Wear gloves and safety glasses, as sheet metal edges are sharp and can cause injury.
Proper preparation is key to a successful whole house humidifier installation. Taking the time to choose the right unit and gather your tools will prevent headaches later.
The Step-by-Step Whole House Humidifier Installation Process
Before starting the installation, prioritize safety. Turn off the power to your furnace at the circuit breaker. This step is mandatory.
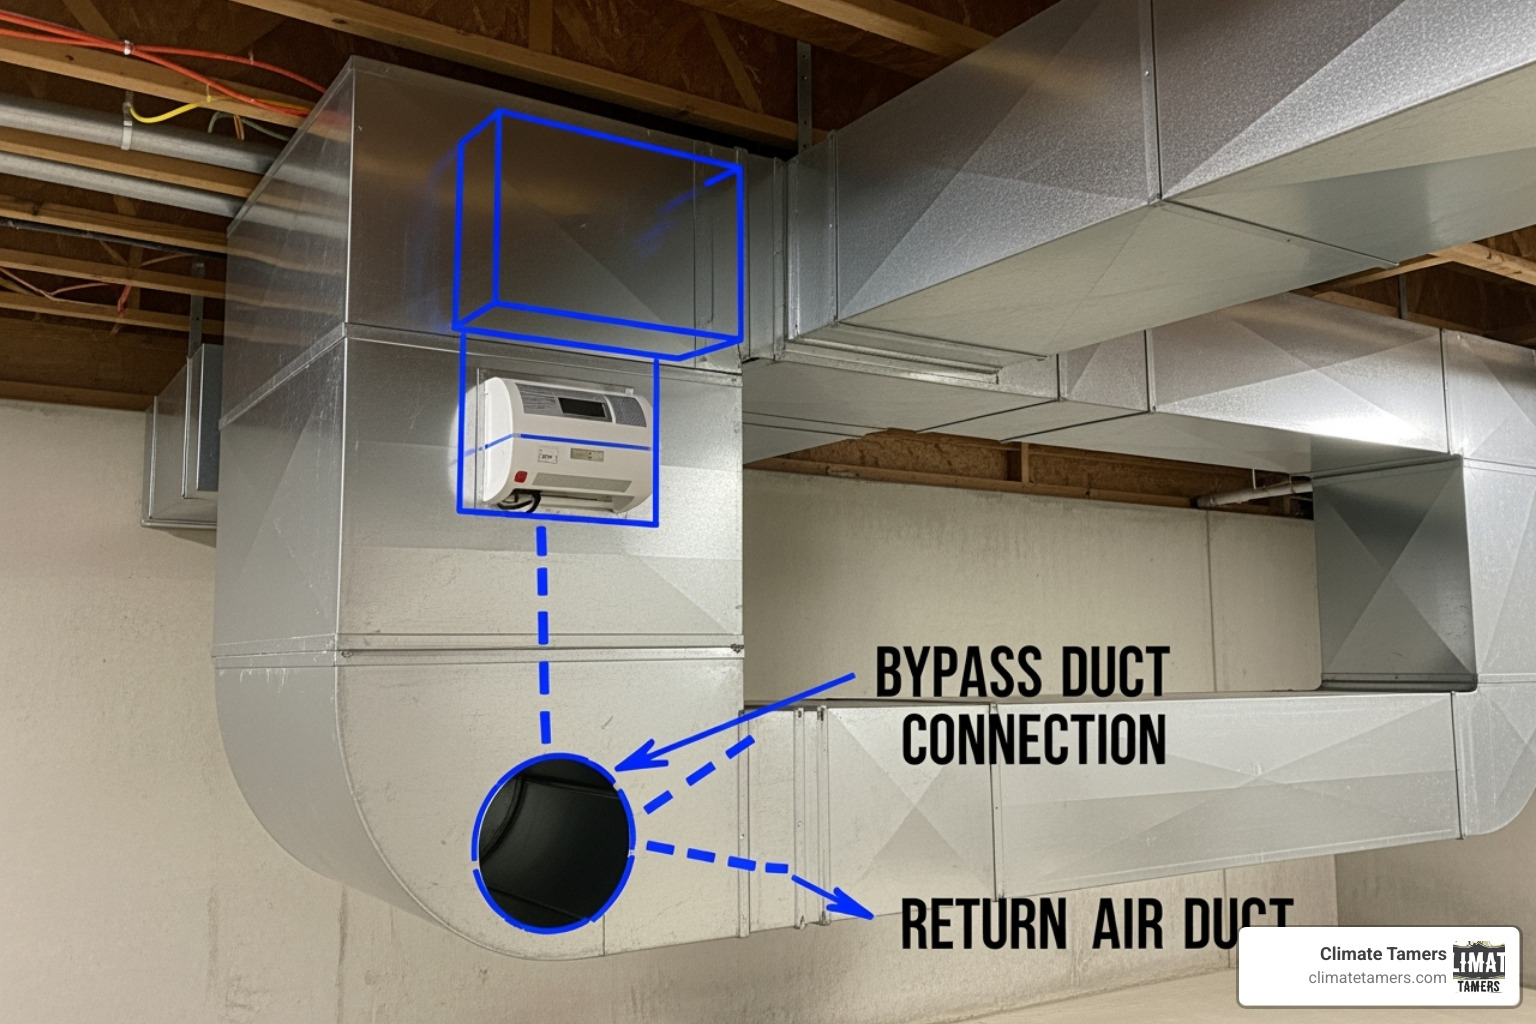
Familiarize yourself with your HVAC system. Identify the supply plenum (carries warm air from the furnace) and the return plenum (brings cool air back). Most whole house humidifier installations happen on the supply plenum, often with a bypass duct to the return.
Mounting the Humidifier and Humidistat
Choose a location on a flat, vertical section of the supply plenum. Ensure there is enough clearance for future maintenance, like changing the annual water panel.
Use the manufacturer’s template provided in your kit. Tape it to the ductwork, trace the outline, and double-check your measurements before cutting.
To cut the sheet metal, drill a pilot hole inside the traced line and use tin snips to cut along the outline. Wear gloves, as sheet metal edges are sharp.
After cutting the opening, secure the mounting frame with the provided sheet metal screws. Seal the edges with duct tape to prevent air leaks and improve efficiency.
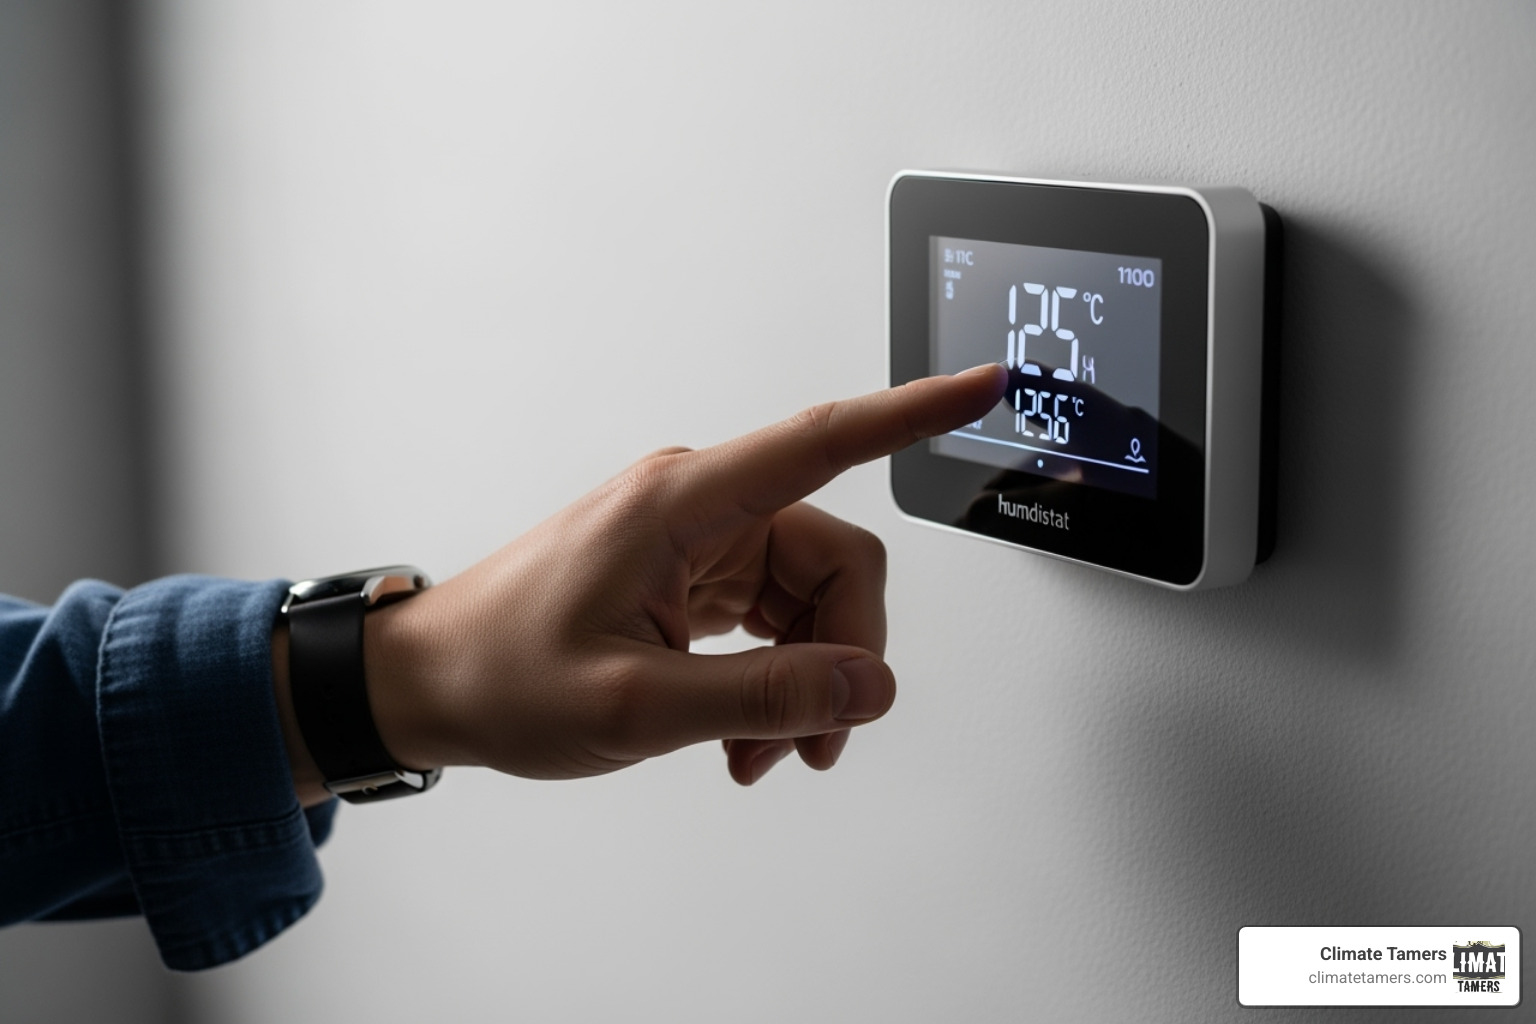
Humidistat placement is crucial for accurate readings. Install it on the return plenum or a nearby wall. After cutting its smaller opening, wire the humidistat to your furnace control board with low-voltage wire, following your furnace’s wiring diagram to identify the correct terminals.
Connecting Water and Power for Your Whole House Humidifier Installation
Next, connect the water and power.
Tap into a cold water line. While hot water evaporates faster, it significantly increases energy costs. Most manufacturers recommend a cold water connection for efficiency.
When connecting to the water line, you can use a saddle valve or a T-fitting. Saddle valves are easy to install but are notoriously unreliable and prone to leaks. A T-fitting installation is more involved but creates a much more secure, long-lasting connection and is the highly recommended method.
Connect the drain line to a floor drain, utility sink, or condensate pump. Ensure the tubing slopes downward continuously to allow for proper drainage of excess water and minerals.
Electrical connections vary by model. Most low-voltage units connect to the furnace control board, often to terminals marked “HUM” or the “W” (heat call) and “C” (common) terminals. Some models may require a step-down transformer. Always follow your unit’s wiring diagram precisely.
Final Assembly and Testing
Finally, complete the assembly and test the unit.
For a bypass humidifier, install the bypass duct connecting the unit to the return plenum. This involves cutting a second opening, installing a collar, and sealing all connections thoroughly.
Insert the water panel, the component that absorbs water for evaporation, into its designated slot.
Check carefully for water leaks. After turning on the water supply, inspect all connections. Placing paper towels under fittings can help detect small drips.
Power the system back on. Set the humidistat to your desired level and confirm the unit is operating. You should hear water flowing, and for fan-powered units, feel air movement.
Double-check the drain line for proper flow. With that, your whole house humidifier installation is complete! For more visual help, How to Install a Whole-House Humidifier to Defeat Dry Air provides step-by-step photos.
DIY vs. Professional Installation: Knowing Your Limits
The appeal of a DIY whole house humidifier installation is strong, offering satisfaction and cost savings. However, it’s crucial to understand the project’s demands before you begin.
A DIY installation takes 2 to 5 hours and saves on labor costs. However, it requires working with your home’s plumbing, electrical, and HVAC systems simultaneously, which can be complex for an inexperienced person.
Potential Risks of a DIY Whole House Humidifier Installation
A DIY whole house humidifier installation carries significant risks if not performed correctly.
Water damage is a primary concern. A poorly installed water line, especially a saddle valve, can fail and cause extensive flooding, damaging floors, walls, and personal items.
Electrical hazards are also serious. Incorrect wiring can short circuit your furnace’s control board, leading to system failure or even a fire risk, endangering your home and family.
You also risk damaging your HVAC system. Improper ductwork cuts can reduce efficiency, while incorrect wiring can destroy the furnace control board, leading to costly repairs.
Many DIYers don’t realize they might be voiding the manufacturer’s warranty. Most warranties require professional installation, and improper self-installation can leave you responsible for all repair or replacement costs.
Improper performance is another risk. An incorrectly sized unit, poor humidistat placement, or wrong settings can result in the humidifier not working effectively.
Finally, there is a mold growth risk. If humidity is set too high or the unit is installed incorrectly, it can promote mold growth in your ductwork, creating a health hazard.
When to Call a Professional
Knowing when to call a professional is a smart decision. Consider hiring an expert in these situations:
- Complex HVAC systems: If you have multiple zones or unusual ductwork, professional expertise ensures proper integration without compromising performance.
- Uncomfortable with plumbing or electrical work: If you lack experience in these areas, it’s best to hire a pro. The cost of fixing a mistake often outweighs the savings from a DIY installation.
- Local code requirements: Professionals are familiar with local permits and regulations, ensuring your installation is compliant.
Professional installation provides peace of mind. You get the assurance of a job done correctly, safely, and efficiently, backed by warranties and expertise.
For homeowners in the Greater New Orleans area who want expert installation and complete peace of mind, our team at Climate Tamers specializes in comprehensive Residential HVAC Services New Orleans LA. We understand that your home’s comfort and your family’s safety are too important to leave to chance.
Operating and Maintaining Your New Humidifier
Congratulations on your whole house humidifier installation. While largely a set-it-and-forget-it system, some simple maintenance will maximize its benefits and ensure it keeps Enhancing Indoor Air Quality for years.
Finding the Perfect Humidity Level
The ideal humidity range for most homes is between 30-50%. Many people find 35% to be the most comfortable level. Use a hygrometer in a central location to get an accurate reading of your home’s relative humidity; many modern humidistats also display this information.
Signs of high humidity include condensation on windows, moisture on cold pipes, or frost in the attic. These are warning signs of potential mold growth and should be addressed immediately.
Signs of low humidity include dry skin, chapped lips, static shocks, persistent coughs, and creaking wood floors. Extremely low humidity can even cause nosebleeds.
A pro tip: adjust your settings based on the outdoor temperature. Colder outside air requires a lower indoor humidity setting to prevent condensation on windows and other surfaces.
For additional guidance on maintaining ideal humidity levels, The ideal humidity level for a home offers excellent insights.
Essential Maintenance for Longevity
Regular maintenance is essential for your humidifier to perform optimally and prevent future problems.
Perform annual maintenance at the start of each heating season. The most critical task is replacing the water panel (or filter/evaporator pad). Mineral buildup from your water supply reduces its effectiveness. Replace it at least once per season—more frequently if you have hard water.
Clean the drain line periodically to prevent clogs from mineral and algae buildup. A clogged line can cause water to back up and damage your furnace. A simple flush with diluted bleach can keep it clear.
If you have hard water, descale mineral buildup from components according to the manufacturer’s instructions. Regular cleaning and inspection will maintain efficiency.
Periodically check for leaks at all water connections. Early detection can prevent major water damage.
Following these simple maintenance steps ensures your whole house humidifier installation continues to provide comfort and health benefits for years to come.
Frequently Asked Questions about Whole-House Humidifiers
Here are answers to some frequently asked questions about whole house humidifier installation and operation.
Can a whole-house humidifier cause mold?
This is a common and important question. The answer is yes, but only with improper settings and poor maintenance. Mold thrives in moist environments. Humidity levels consistently above 60% or a lack of regular cleaning can lead to mold growth in your ductwork.
The good news is that proper settings and maintenance prevent mold. Keep humidity between 30-50%. Condensation on windows is a sign that the humidity is too high.
Regular cleaning is crucial. Replace the water panel annually and clean the unit as per the manufacturer’s instructions. If you’re concerned about existing mold, consider professional Air Duct Cleaning New Orleans for a clean start.
Should I use hot or cold water for my humidifier?
While hot water evaporates more efficiently, the increased energy cost is usually not worth the slight boost in output.
Most manufacturers recommend cold water connections for energy efficiency. Using hot water means you are paying to heat water that is then evaporated, which can significantly increase your utility bills.
Cold water is more energy-efficient and can also reduce the rate of mineral buildup on humidifier components, which means less frequent cleaning. Always follow your model’s instructions, but cold water is typically the most economical choice.
How much does it cost to run a whole-house humidifier?
Operating costs are generally low but vary by humidifier type.
Bypass and fan-powered humidifiers are very economical, using minimal electricity and water.
Steam humidifiers have higher operating costs because they use more electricity to boil water and create steam.
However, a properly humidified home feels warmer at lower temperatures. This allows you to lower your thermostat in the winter, and the resulting energy savings can often offset, or even exceed, the humidifier’s operating costs.
Conclusion
Installing a whole house humidifier installation is one of those home improvements that truly delivers on its promises. You’ll notice the difference almost immediately – no more shocking yourself on doorknobs, no more waking up with a scratchy throat, and your beautiful hardwood floors will thank you for years to come. It’s remarkable how such a relatively simple addition can transform your entire home’s comfort level.
The DIY route can be incredibly satisfying and cost-effective if you have the right skills and take your time with each step. There’s something deeply rewarding about cutting that first hole in your ductwork (after triple-checking your measurements, of course!) and seeing your careful planning come together. The 2-5 hours you invest can pay dividends in comfort and energy savings for years.
But here’s the thing – we’ve seen what happens when installations go sideways. That saddle valve that seemed so convenient can turn into a basement flood six months later. The electrical connection that “looked right” can leave you without heat on the coldest day of winter. Sometimes the smartest DIY decision is knowing when to call in the experts.
Your home’s HVAC system is the heart of your comfort, and it deserves to be treated with care and expertise. If you’re feeling uncertain about any part of the process, or if you simply want the peace of mind that comes with professional installation and warranty protection, that’s perfectly wise.
For expert whole house humidifier installation and to ensure your entire HVAC system is running perfectly, trust the team at Climate Tamers to keep your home comfortable year-round. We’re not just here for the installation – we’re here to earn your trust and your business for life. Learn more about our comprehensive HVAC Maintenance Plan New Orleans LA to keep your new humidifier and entire system running smoothly for years to come.


