Your Guide to Efficient, Zoned Comfort
Ductless AC installation is a weekend project that can transform your home’s comfort while giving you complete control over individual room temperatures. Here’s what you need to know:
Key Steps for Ductless AC Installation:
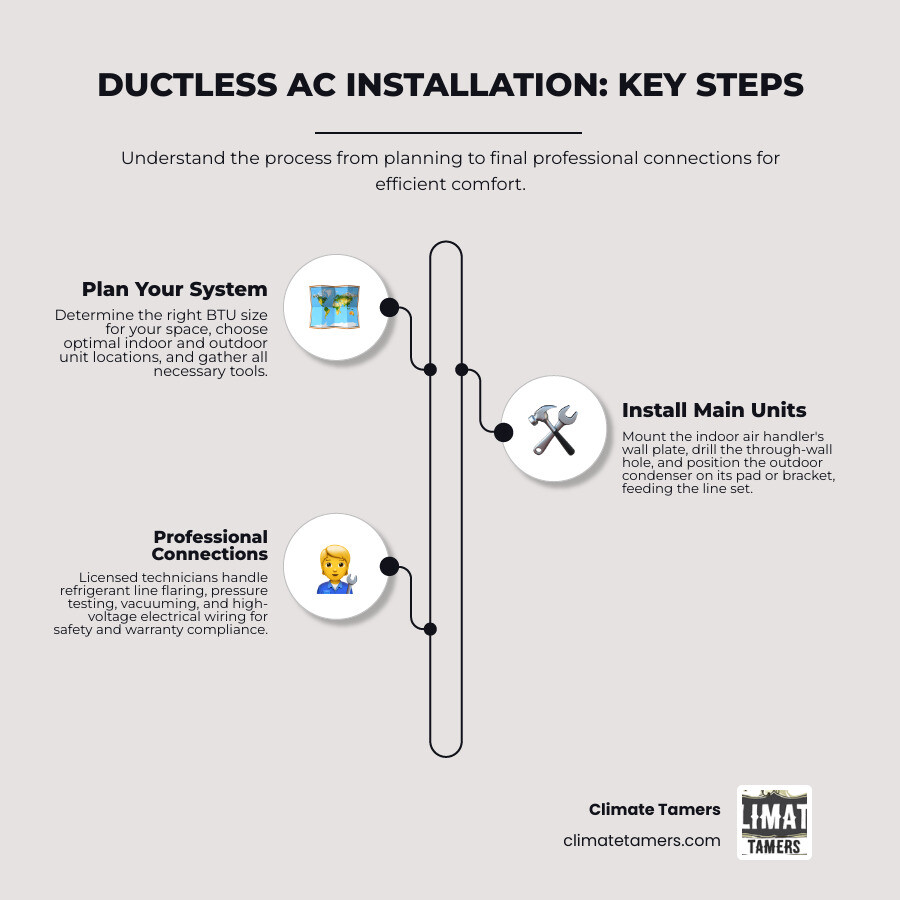
- Planning: Choose system size, select locations for indoor/outdoor units
- Indoor Installation: Mount wall bracket, drill 3-inch hole, run lines through wall
- Outdoor Installation: Install condenser on pad or wall bracket, connect line set
- Professional Finish: Licensed technician handles refrigerant lines and electrical connections
A ductless mini-split system consists of two main components connected by a small conduit. The outdoor condenser sits on a concrete pad or wall bracket, while the indoor air handler mounts high on an interior wall. The conduit carries refrigerant lines, electrical wiring, and a condensate drain between the units.
The primary benefits make this project worthwhile:
- Zoned cooling – Control temperature in individual rooms
- Energy efficiency – Up to 30% more efficient than traditional systems
- Quiet operation – Indoor units operate at whisper-quiet levels
- Perfect for older homes – No ductwork installation required
New Orleans homeowners especially appreciate the superior humidity control these systems provide during our humid summers. Unlike window units that cycle on and off, ductless systems run continuously at variable speeds, maintaining consistent comfort while removing excess moisture from the air.
Most DIY-friendly systems come with pre-charged refrigerant lines and detailed instructions, making the mechanical installation manageable for weekend warriors. However, the final refrigerant and electrical connections require professional expertise to ensure safety, efficiency, and warranty compliance.
Part 1: Planning Your Ductless AC Installation Project
Successful ductless AC installation begins with careful preparation. Before you touch a drill, these essential planning steps will set you up for success.
Choosing the Right System
First, choose between a single-zone and multi-zone system. Single-zone systems are ideal for a specific problem area, like a sunroom or bedroom. One outdoor unit connects to one indoor air handler.
Multi-zone systems connect one outdoor unit to multiple indoor handlers (often up to four or more), allowing for independent temperature control in each room.
Correctly sizing your unit is crucial. Ductless systems are sized by BTU (British Thermal Units), with a general rule of 12,000 BTUs for every 500-600 square feet. However, your home’s unique characteristics—like high ceilings, windows, and insulation levels—greatly affect cooling needs. A professional BTU calculation is the best way to ensure your system is sized perfectly. For more insights, see how to Maximize Efficiency with Ductless AC.
Modern ductless systems offer impressive features. Inverter technology allows the compressor to adjust its speed based on cooling needs, resulting in consistent temperatures, lower energy bills, and quiet operation. Wi-Fi connectivity and smart thermostat integration let you control your system remotely for ultimate convenience and energy management.
Gather your essential tools and materials beforehand: a stud finder, a level, a drill with a hole saw, wrenches, sealant, and a condenser pad.
Selecting the Right Location
Proper location is key to efficiency and quiet operation.
For your indoor unit, an exterior wall is ideal for the shortest line path. Keep it away from heat sources like sunny windows or electronics. Ensure at least six inches of clearance from the ceiling and walls for airflow. Plan the condensate drainage path with a slight downward slope to the outside.
Your outdoor unit needs a solid, level foundation, like a pre-made concrete pad or a sturdy wall bracket. Stability is key to preventing noise and premature wear. Provide a few feet of clearance on all sides for airflow and place it away from windows and outdoor living areas.
Understanding the Costs and Savings
Your initial investment depends on several factors: system size (BTU), the number of zones, and the SEER rating (Seasonal Energy Efficiency Ratio). Higher efficiency systems cost more upfront but provide greater long-term savings. Installation complexity also affects the cost.
The long-term energy savings are impressive. Traditional systems can lose up to 30% of energy through leaky ductwork; ductless systems eliminate this waste. Zoned control provides the biggest savings, as you only cool the rooms you are using. Combined with high SEER ratings and inverter technology, homeowners can see energy bill reductions of up to 30%. These savings often offset the initial investment over time. Learn more about the Benefits Ductless Heating Cooling System.
Part 2: The Step-by-Step Installation Guide
With planning complete, it’s time for the hands-on part of your ductless AC installation. While many steps are manageable for a DIYer, safety must be the top priority.
Safety First
Before starting, take these non-negotiable safety precautions:
- Turn off power at the electrical panel to the work area.
- Read your manufacturer’s manual thoroughly, as every system has specific requirements.
- Wear protective gear, including safety glasses and work gloves, to prevent injury.
A Guide to Your Indoor Ductless AC Installation
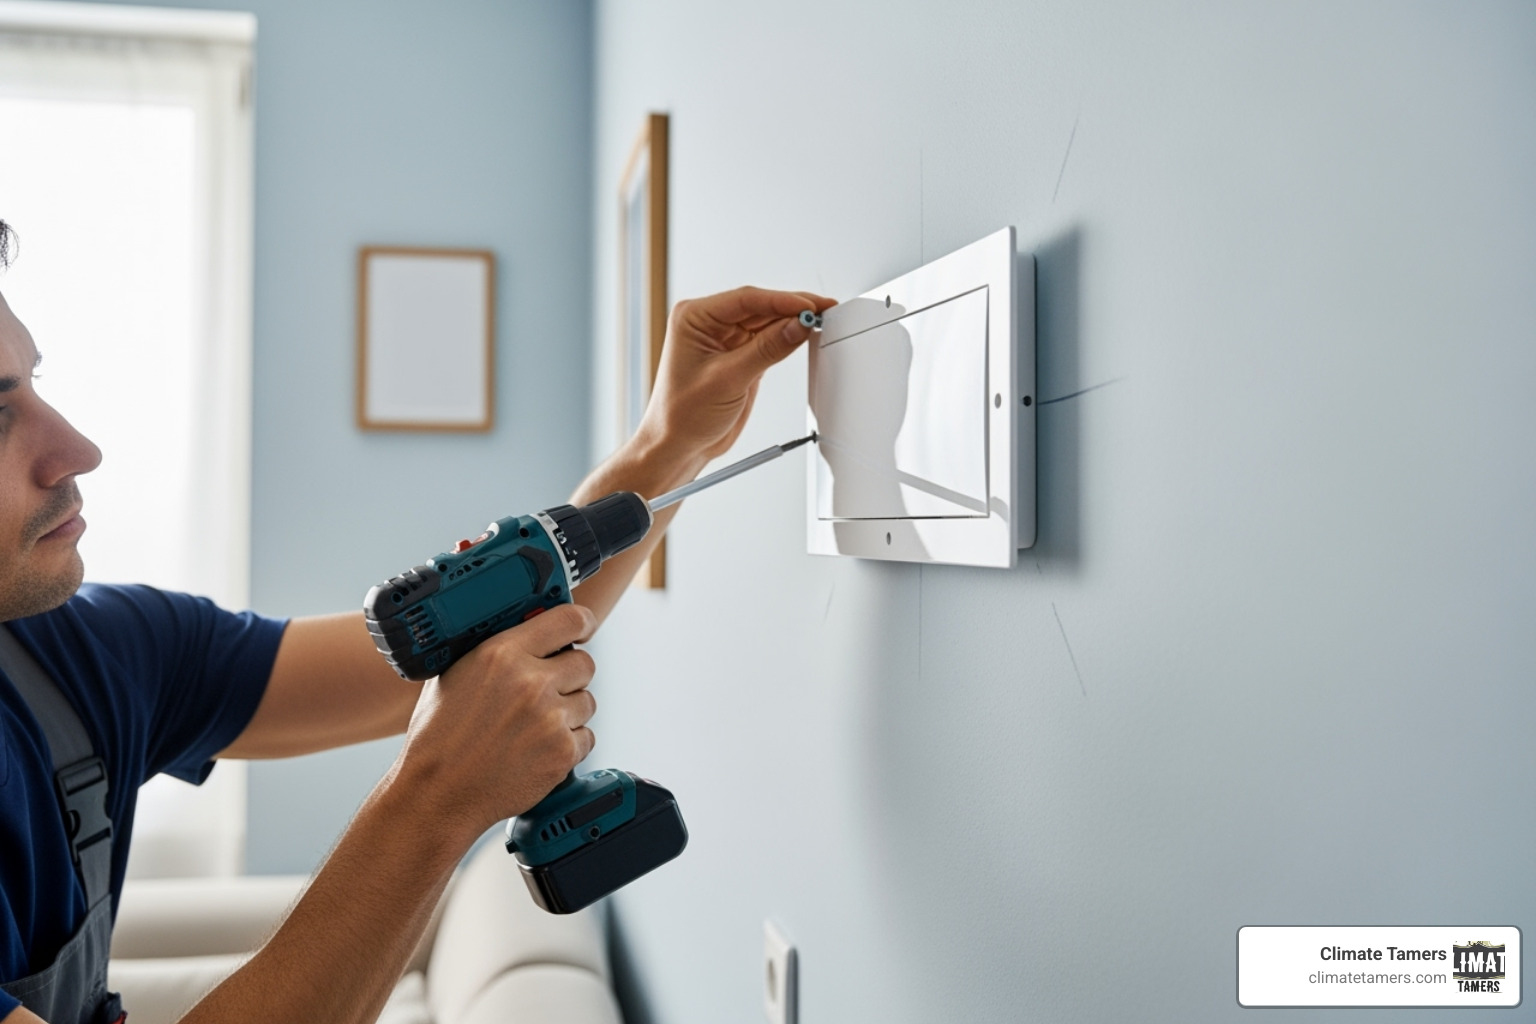
Mounting the bracket is a critical foundation. Use a stud finder to locate wall studs and secure the mounting plate directly into them. It is absolutely critical that the bracket is perfectly level to ensure proper drainage. If you can’t hit studs for every mounting point, use heavy-duty drywall anchors.
Drilling the hole creates the pathway for your line set. Mark the center point on the wall behind the indoor unit. Start with a pilot bit to confirm the path, then use a 2- to 3-inch hole saw. Angle the hole slightly downward toward the exterior for drainage. Insert a PVC sleeve and seal it for a clean, weatherproof finish.
Running the lines requires care. Carefully uncoil the refrigerant lines, electrical control wire, and condensate drain line. Tape them into a bundle, with the drain line at the bottom, and gently feed them through the wall. Having a helper outside can make this step much easier.
Mounting the indoor unit is the final step inside. Lift the indoor air handler and hook it onto the mounting plate. After making connections (per the manual), push the bottom of the unit toward the wall until it clicks securely into place, sitting flush and level.
A Guide to Your Outdoor Ductless AC Installation
Your outdoor condenser requires proper placement and solid mounting for reliable performance.
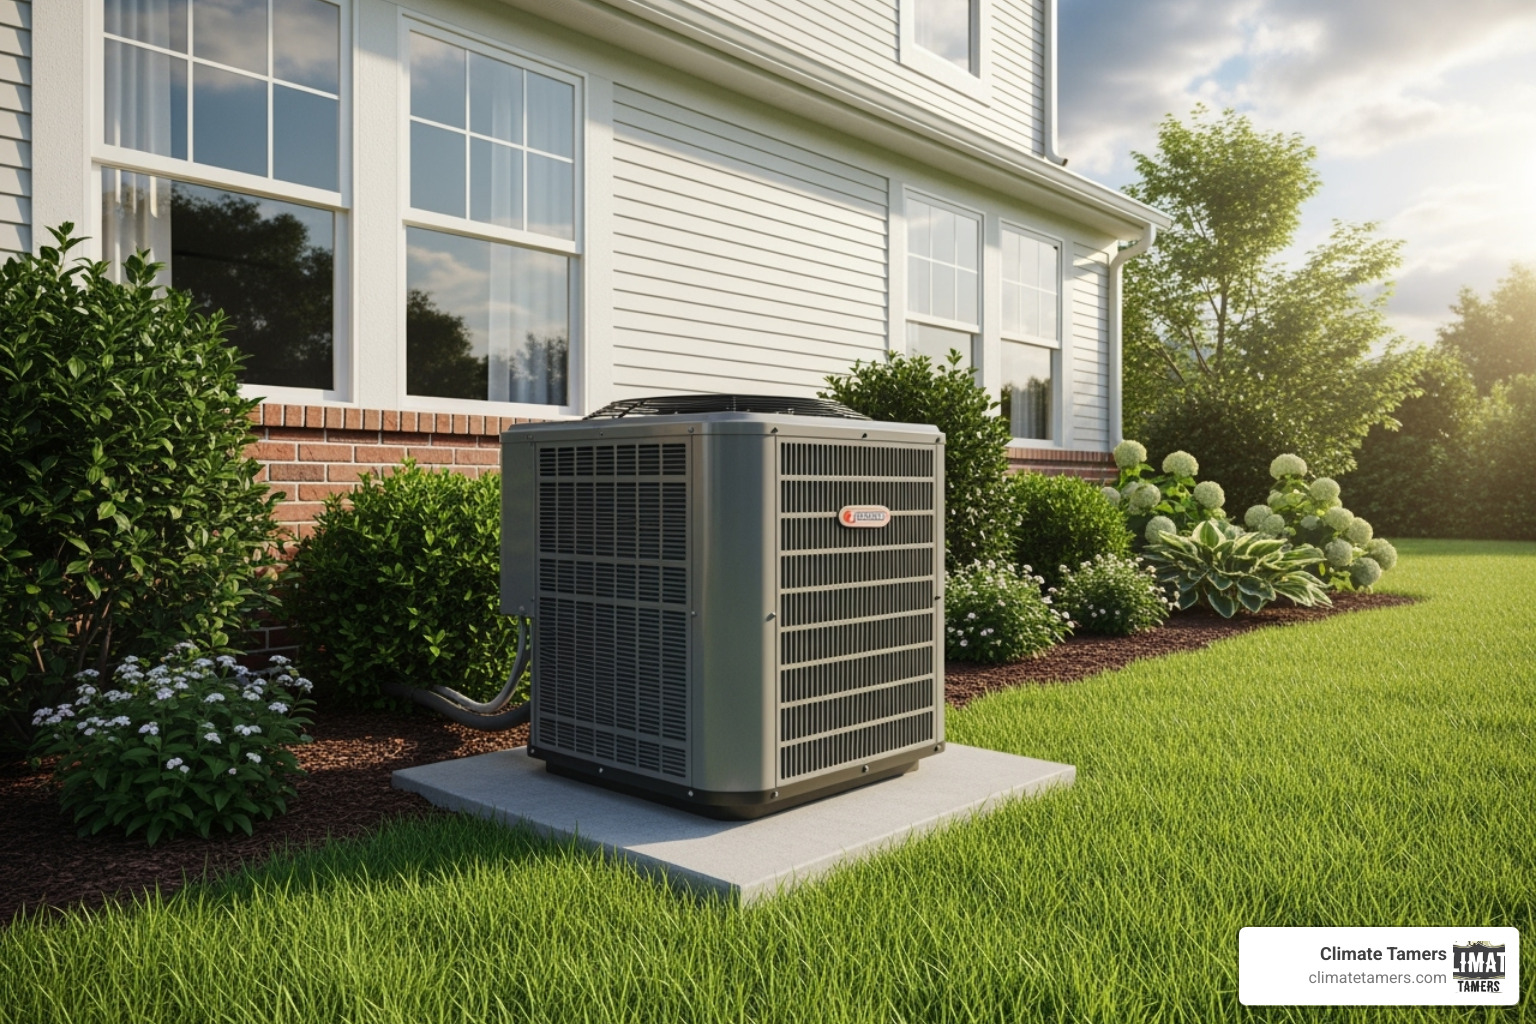
Preparing the base is the first step. For ground-level installations, use a pre-made plastic or concrete pad on level, compacted ground. For wall-mounted units, use heavy-duty brackets designed for HVAC condensers, anchored securely to your home’s structure.
Placing the condenser involves carefully lifting the unit onto its prepared base. Use a level to ensure it sits perfectly flat, which is essential for quiet, efficient operation. Secure the unit according to the manufacturer’s instructions to prevent shifting.
Connecting the line set demands precision. Carefully bend the copper tubing to meet the condenser’s connections, using gradual curves to avoid kinks that can damage the system. If your system has pre-charged, quick-connect fittings, follow the manufacturer’s instructions precisely. For traditional systems, you’ll need specialized tools to cut, deburr, and flare the copper lines to create a perfect, leak-free seal.
Part 3: When to Call a Professional (The Critical Final Steps)
You’ve completed the mechanical installation, but the final steps require a professional. While DIY-friendly kits with pre-charged lines exist, most ductless systems need a licensed technician for the final refrigerant and electrical connections. This ensures the system works safely, efficiently, and in a way that keeps your warranty intact.
Licensed technicians have the specialized tools and certifications required for a proper installation, as emphasized by the U.S. Department of Energy. Skipping this professional finish can lead to poor performance, expensive repairs, and a voided warranty.
Handling Refrigerant Lines
Handling refrigerant is a job for certified professionals due to safety and environmental risks. It is regulated by the EPA and requires specialized knowledge.
- EPA Regulations: Technicians must be EPA 608 certified to handle refrigerants legally and safely.
- Specialized Tools: Professionals use tools like vacuum pumps, nitrogen tanks, manifold gauges, and torque wrenches that most homeowners don’t own.
- Flaring & Torque: Connections must be perfectly flared and tightened to exact torque specifications to prevent leaks.
- Pressure Testing: A nitrogen pressure test is performed to detect even the smallest leaks in the line set before charging the system.
- Vacuuming the Lines: A deep vacuum is pulled on the lines to remove all air and moisture. Moisture in the system can create corrosive acids that destroy the compressor. An improper vacuum is a common cause of system failure, which you can learn more about in our guide on Why Your Ductless AC System Freezes Up.
Making the Final Electrical Connections
Final electrical connections are another area where professional expertise is essential for safety.
- High-Voltage Risks: Ductless systems require a 120-volt or 220-volt dedicated circuit, and working with this level of power is dangerous.
- Dedicated Circuit: A licensed electrician will ensure the system has its own circuit to prevent overloading your home’s electrical system.
- Local Codes: Professionals are current on local electrical codes and ensure your installation is compliant and safe.
- Breaker Panel Work: Safely adding a new circuit to your breaker panel requires an expert.
If your system fails to start, electrical issues are a common cause. Our guide on what to do when a Ductless AC Won’t Turn On can help troubleshoot, but professional diagnosis is often necessary.
You’ve done the impressive mechanical work; now let a professional handle the technical finish to ensure your ductless AC installation is properly commissioned for years of reliable service.
Frequently Asked Questions about Ductless AC
Here are answers to the most common questions we receive about ductless AC installation.
How long does a ductless mini-split system last?
A well-maintained ductless mini-split system should last 15 to 20 years. Longevity depends on the quality of the initial installation, consistent annual maintenance, and local climate usage patterns. In a demanding climate like New Orleans, regular check-ups are especially important to maximize lifespan.
What maintenance does a ductless system require?
Maintenance is straightforward. Homeowners should perform these simple monthly tasks:
- Clean the washable filters in the indoor units by rinsing them with water and letting them air dry.
- Wipe down the indoor and outdoor units to keep them free of dust and debris.
- Check the outdoor unit to ensure it’s clear of leaves, branches, or other obstructions.
We recommend scheduling a professional annual tune-up before the cooling season. A technician will clean the coils, check refrigerant levels, inspect electrical connections, test controls, and clear the condensate drain line. This service keeps your system efficient and helps prevent costly repairs. Learn more about Maintaining the Efficiency of Ductless HVAC.
How much can I save with a ductless system?
Savings can be significant. Ductless technology offers several advantages over traditional systems:
- No Duct Losses: Ductless systems eliminate the energy loss (up to 30%) that occurs in leaky or poorly insulated ductwork.
- Zoned Control: You can cool only the rooms you’re using, which drastically reduces wasted energy.
- High Efficiency: Ductless systems have some of the highest SEER ratings available, meaning they use less electricity to cool your home.
- Inverter Technology: The compressor adjusts its speed to meet demand instead of cycling on and off, saving energy and maintaining consistent comfort.
Many homeowners see a noticeable reduction in their energy bills after switching to a ductless system.
Completing Your Project & Enjoying the Comfort
By following this guide, you’ve completed the main mechanical parts of your ductless AC installation. Before finishing, a few final touches will protect your investment and ensure a professional look.
Perform final checks: ensure all mounts are solid, the indoor unit is level for drainage, and refrigerant lines are free of kinks. Seal the exterior hole with exterior-grade sealant to prevent water, drafts, and pests. Finally, install the line set cover to protect the lines from weather and create a clean, finished appearance.
Testing the system can only happen after a professional completes the final connections. That first blast of cool air will be the satisfying reward for all your hard work.
While the physical installation is a rewarding DIY project, professional help for the final steps is essential for safety, efficiency, and your warranty. The refrigerant and electrical work are not just technical details—they are critical for the long-term health of your system and the safety of your home.
At Climate Tamers, our experienced technicians ensure your system is commissioned correctly for years of reliable service in the Greater New Orleans area. Whether you need help with the final connections or the entire project, we’re here to provide expert support and earn your trust.
Ready to enjoy the ultimate comfort and efficiency of a professionally completed ductless system?
Schedule your professional ductless AC installation in New Orleans today!


